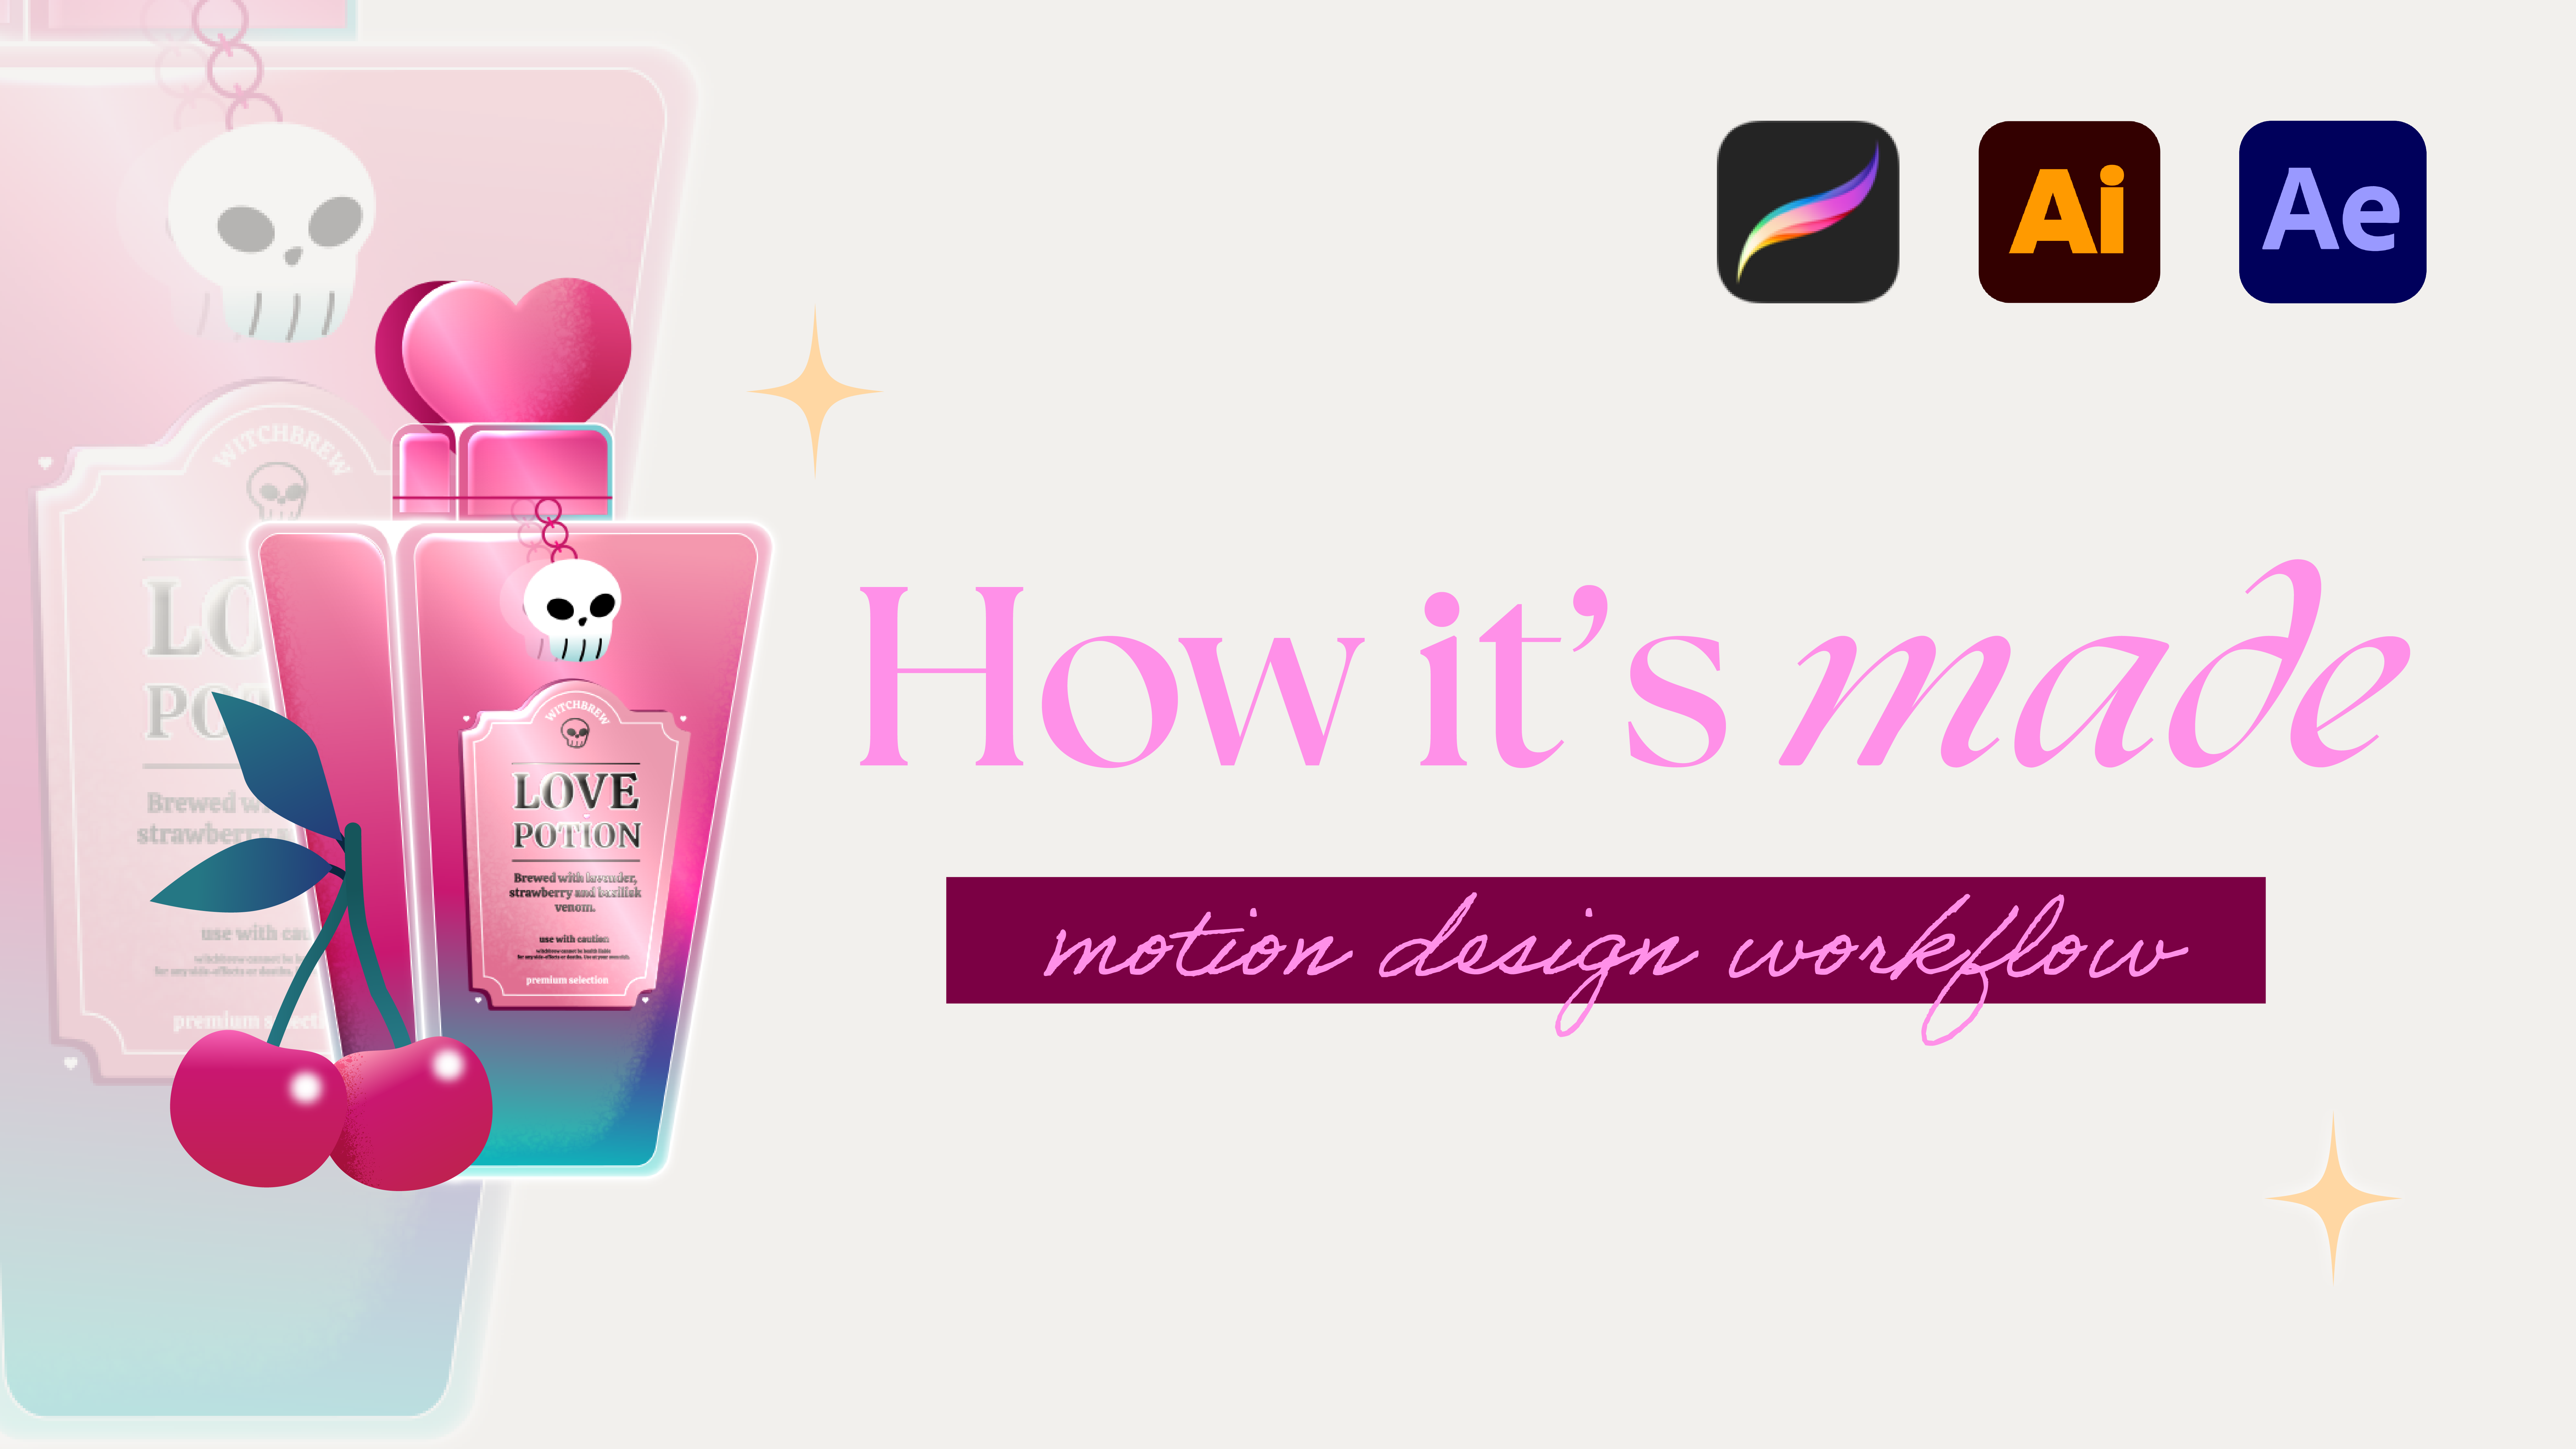
Today I'll show you my full Motion Design Workflow. I'll go over the illustration part and animation part.
What I used for sketching:
- Ipad Pro
- Ipad Pro Stand
- Ipad Pro Pencil
- Procreate
What I used for Illustration & Animation
- Adobe Creative Cloud - Adobe Illustrator & Adobe After Effects
Optional Plugin(s)
- Overlord for After Effects & Illustrator
Interested in more of my set-up & tricks to get discounts? Read more about it here (coming soon!)
Some of the links above are affiliate links, including links to Amazon. This means I may earn a small commission if you purchase through them — at no additional cost to you. Thank you for supporting my work!
Where to start
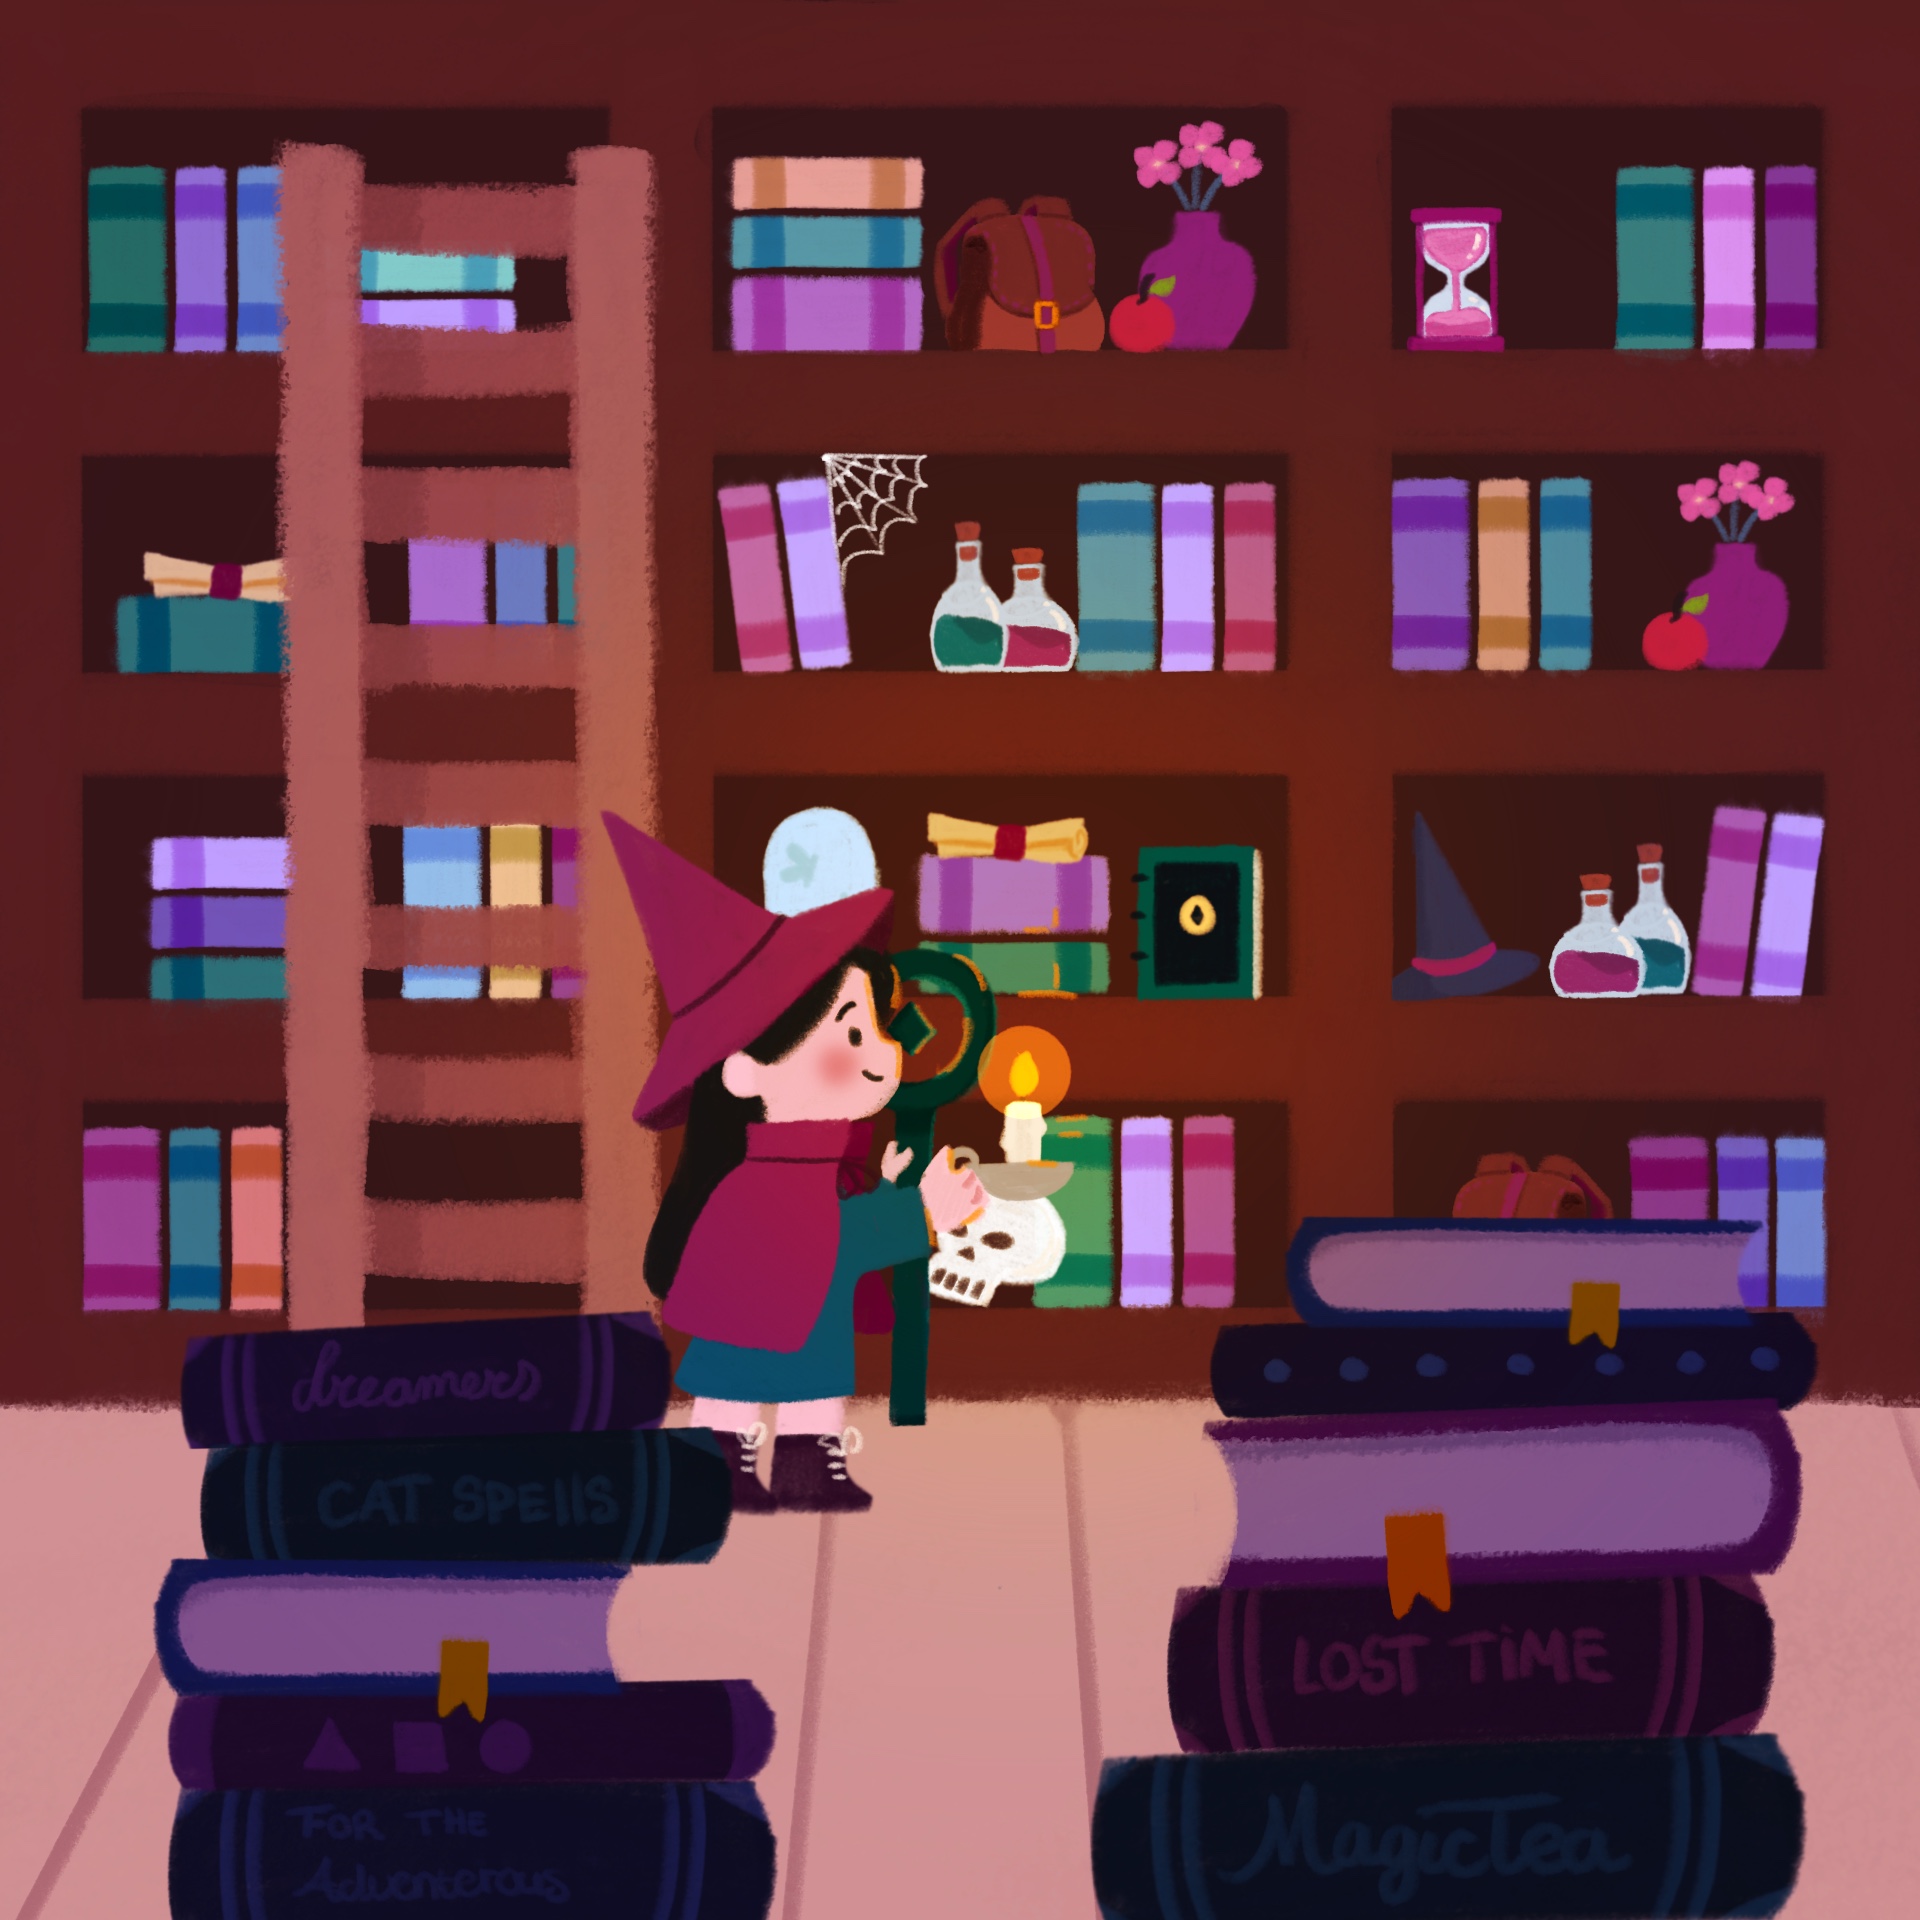
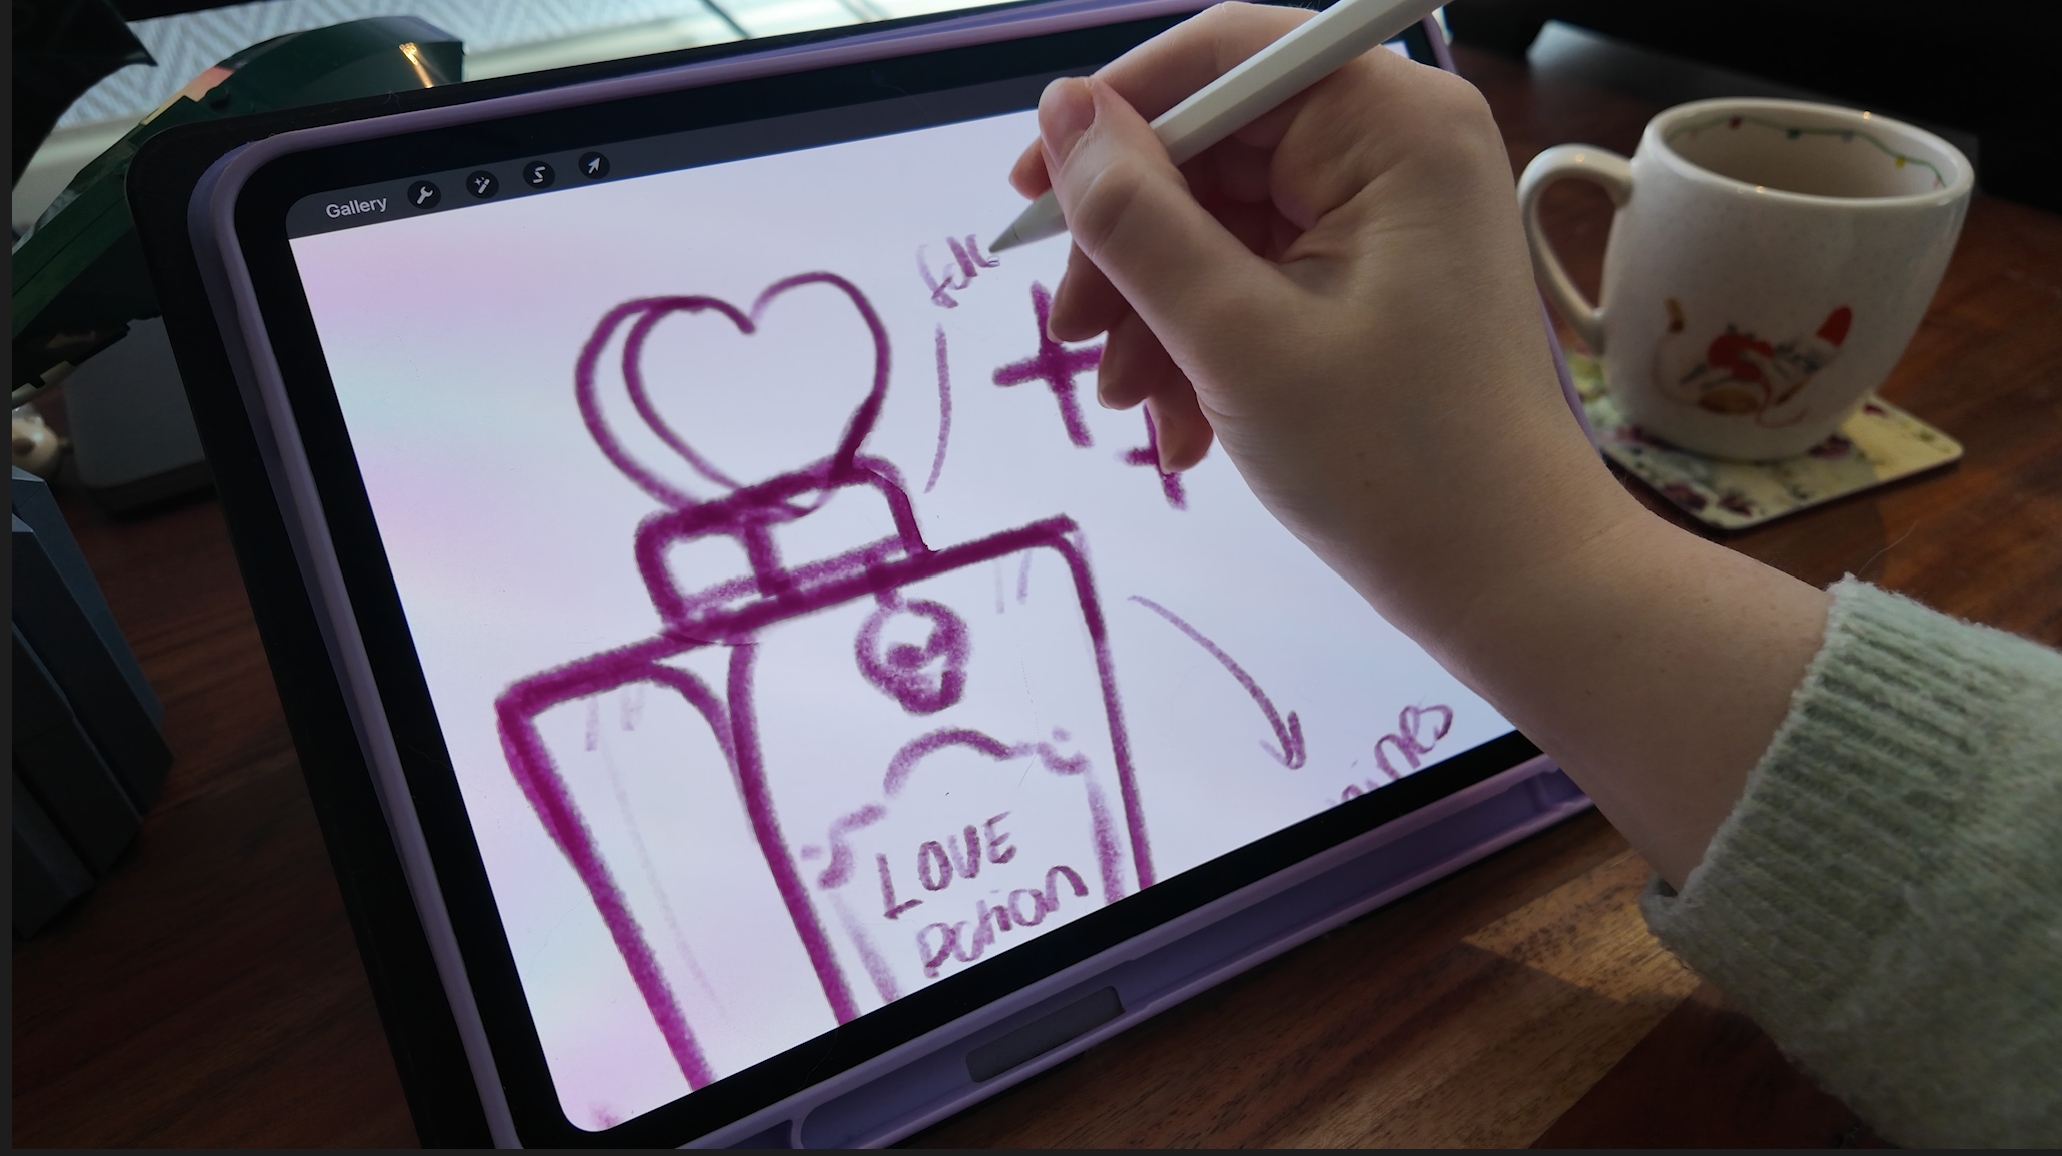
I usually start in Procreate. I really believe that sketching and writing out my ideas is an important part of the process. It gives me the energy and motivation to see the project through to the end.
Design tips: for the bottle to do a fake kind of turn, the bottom needed to be flat.
Building the Illustration in Illustrator

Here, I used my 1920x1920 template again to quickly see if it fits all screen sizes. If you don't know what I'm talking about check out this blogpost here!
Sometimes the tricky part is figuring out how to build an illustration in Illustrator. Which parts need to be separated to make the animation work? Since I wanted to make use of path animation I separated quit a lot of layers.

Design tips: many of the stipple brush effects and glows will be recreated in After Effects.
Importing to After Effects
Yay, you’ve reached the “fun” part…
Just kidding. I know this isn’t anyone’s favorite step.
There are two main ways to transfer your artwork into Adobe After Effects: manually, or by using the Overlord plugin.
Manual Workflow
If you go the manual route, here’s what you’ll need to do:
- Save a separate version of your artwork.
- Remove effects, brushes, and anything that won’t translate properly.
- Drag your Adobe Illustrator file into After Effects.
- Choose “Composition – Retain Layer Sizes.”
- Convert each layer into a shape layer (right-click → Create Shapes from Vector Layer).
- Reapply effects like gradients.
- Fix anything that breaks during the import.
As you can see… that’s a lot of extra work.
Using the Overlord Plugin
That’s why I prefer using Overlord.
With Overlord:
- Layers instantly convert into shape layers.
- Most effects transfer correctly.
- The workflow is much faster and cleaner.
- You skip a lot of tedious manual fixes.
If you work between Illustrator and After Effects regularly, it can save you a huge amount of time and frustration.
Why?
Why separate layers? Why use shape layers? Because it gives you way more creative control. Separating elements into individual layers makes animation more flexible and fun. Even if you’re not using path animation, you still need separated layers to animate different parts independently. It allows you to control timing, movement, and effects with much more precision.
But once you introduce shape layers, things become even more powerful.
What are shape layers?
In Adobe After Effects, shape layers are vector-based layers that let you:
- Edit paths directly
- Animate path properties
- Apply modifiers like Trim Paths, Offset Paths, and Roughen Edges
- Scale infinitely without losing quality
Unlike regular imported artwork, shape layers give you full control over the actual path structure.
Even if you don’t animate the path itself, shape layers are still worth using because:
- Effects and modifiers are non-destructive
- You can easily duplicate and adjust elements
- You get cleaner control over strokes and fills
- They’re resolution-independent
They simply make your workflow more flexible and efficient.
Path Animation
Path animation is often overlooked in motion design, but it’s an incredibly powerful tool.
Animating a path lets you:
- Morph shapes
- Create organic motion
- Build dynamic transitions
- Add personality to simple graphics
Instead of just moving objects around, you’re animating and changing the structure of the design itself, which gives you a lot of creative possibilities.
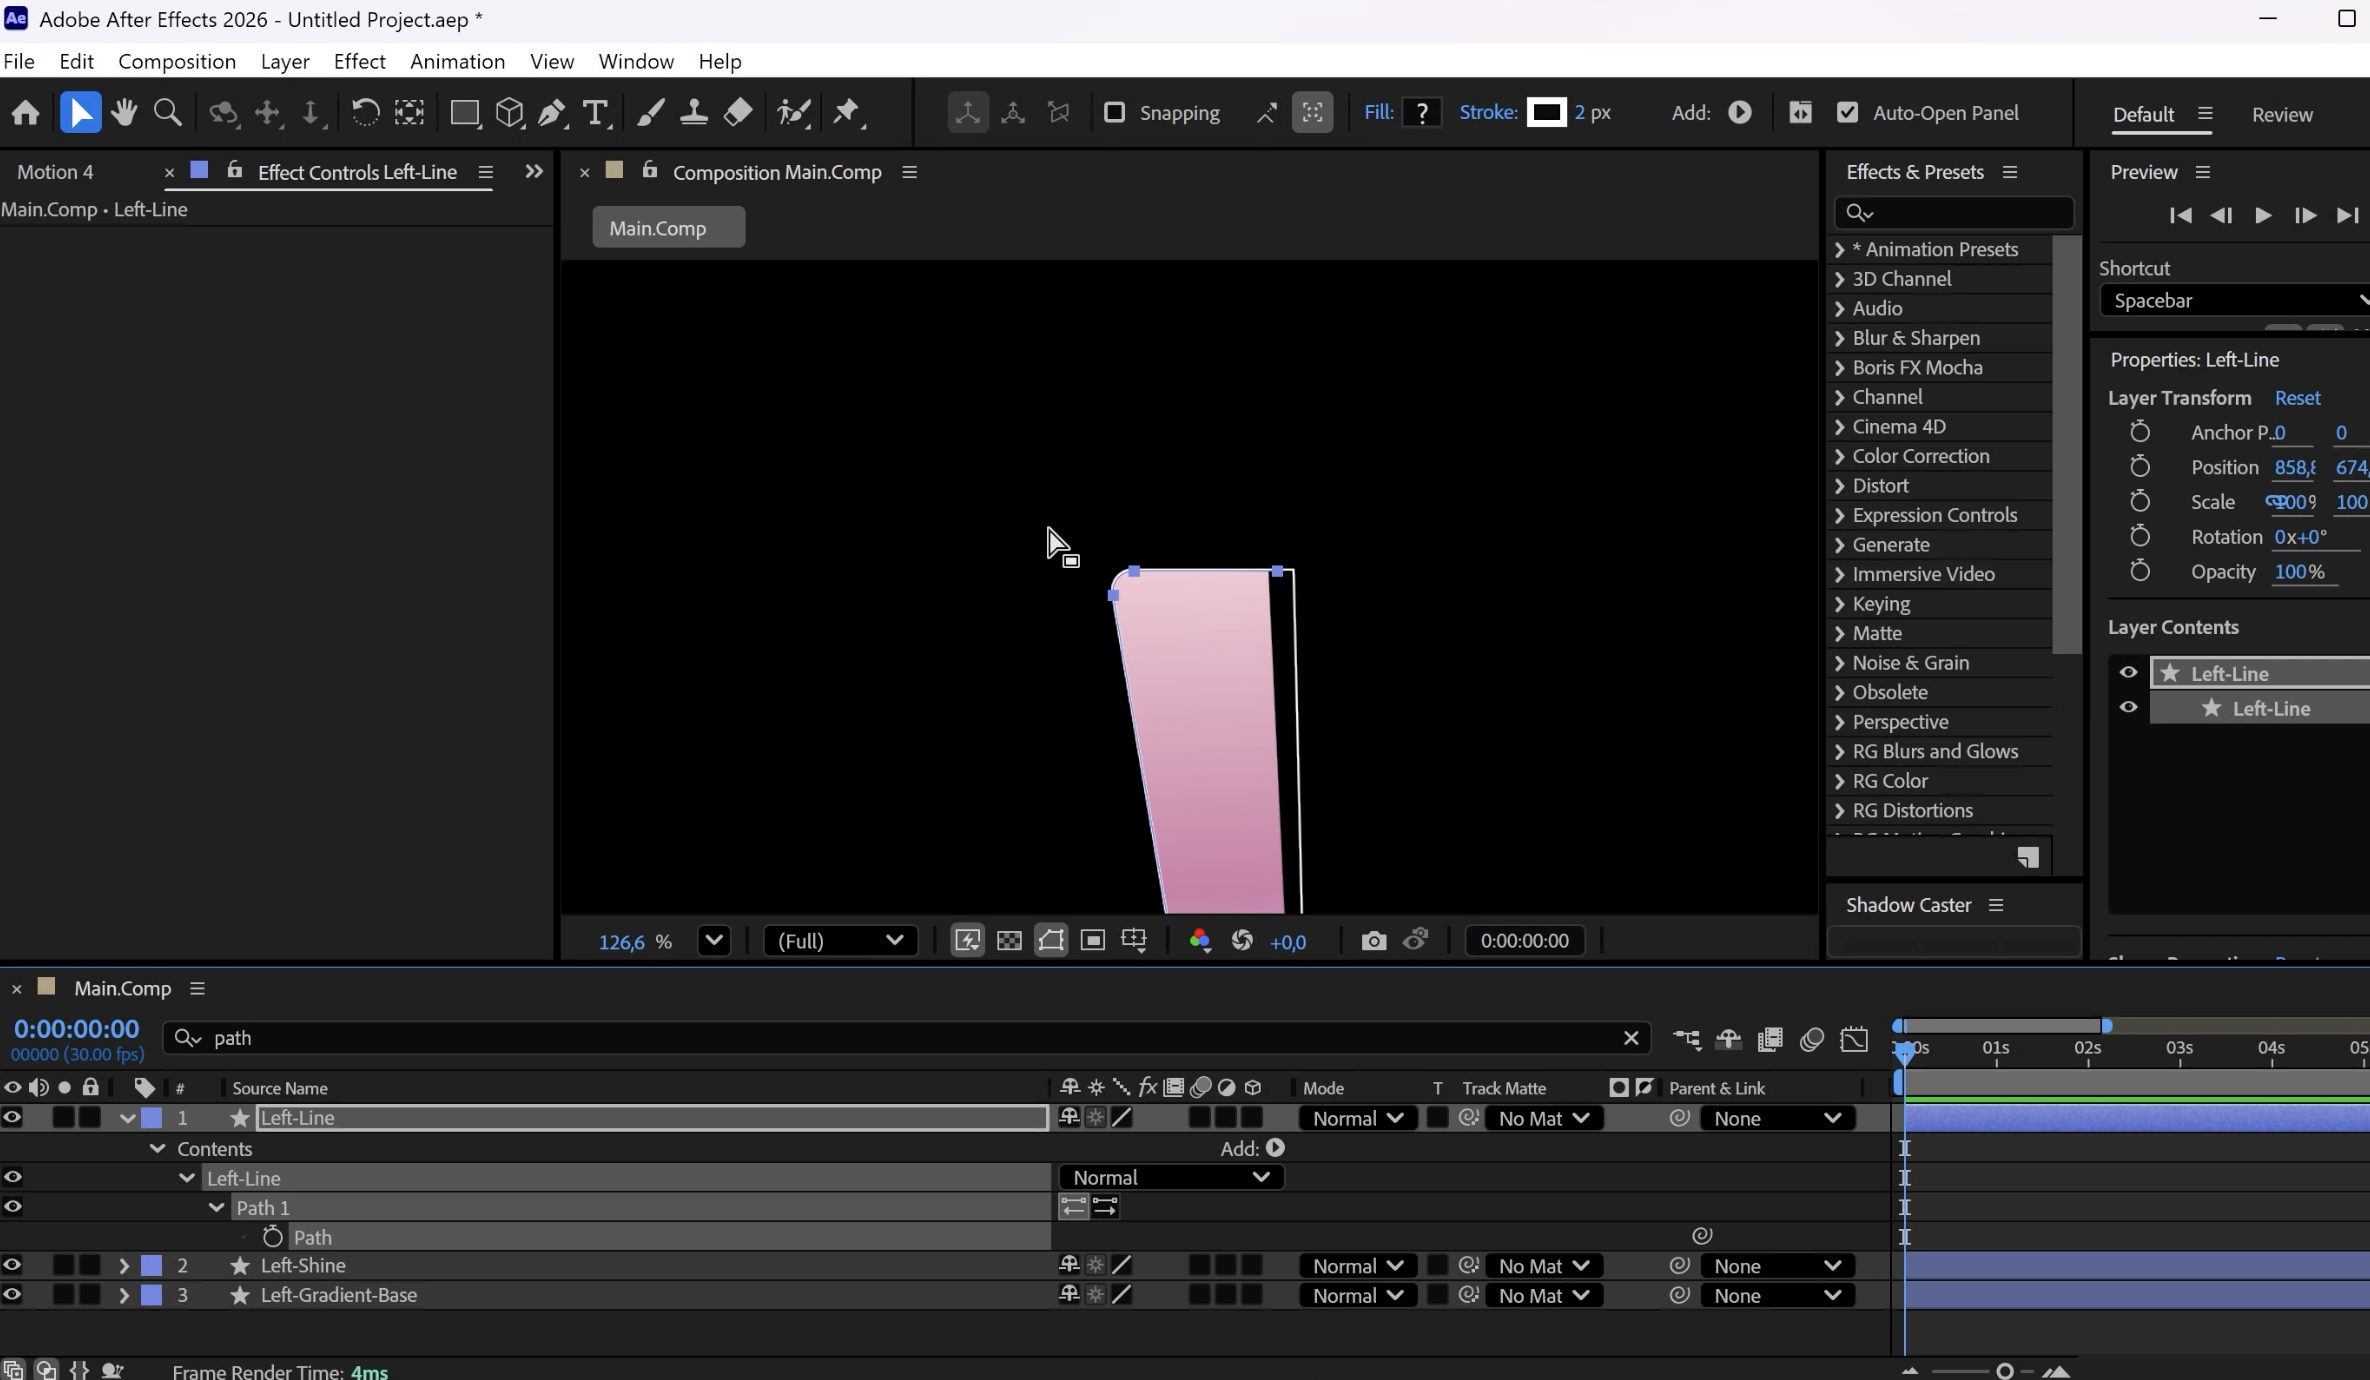
Animating in After Effects
After transferring all your files to Adobe After Effects and adjusting the effects, I usually parent layers to each other and create pre-comps whenever necessary.
Animation Tips
- Start a few seconds into your timeline, not right at the beginning. This gives you more flexibility when moving keyframes or compositions.
- Hide layers if your composition starts to feel overwhelming.
- Add easings once your base movements are finished.
- Remember the 12 Principles of Animation.
- Experiment with expressions and effects to add complexity and style.
- If something behaves strangely, purge your memory first.
- Add sound effects for extra impact! I personally use Epidemic Sound.
Exporting in After Effects
Once your animation is finished, export it in your preferred format and settings.
Free Downloadables
You can find all my downloadable assets here. Enjoy!